


At Karndean, we see flooring differently, and have created design components to allow for maximum personalization. Whether you're designing for a healthcare, hospitality, or educational client, you can create a unique design for each project by getting creative with our strips, borders and special cuts.
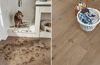
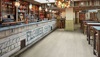
Today’s topic is influenced by the porcelain grouted wood trends coming out of Italy and Spain. While it looks fantastic, this look requires sealing, can easily stain, and is messy and time-consuming to install and maintain. With Karndean vinyl planks, this look can easily be recreated in a format that is easy to clean with a quick sweep and mop, doesn’t stain, fade or discolor, and is much faster to install because no sealing is required!
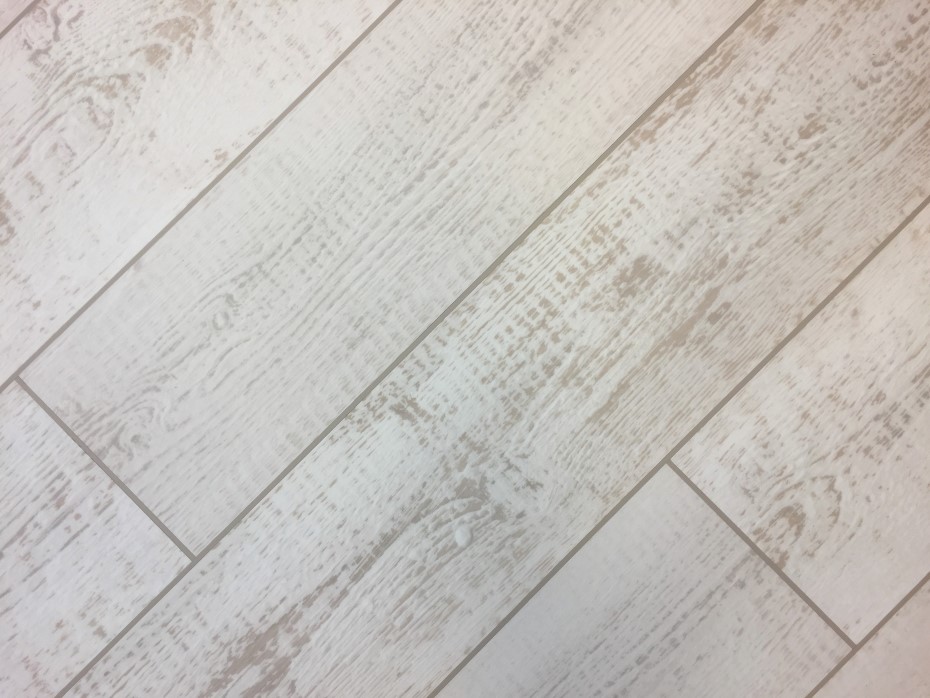
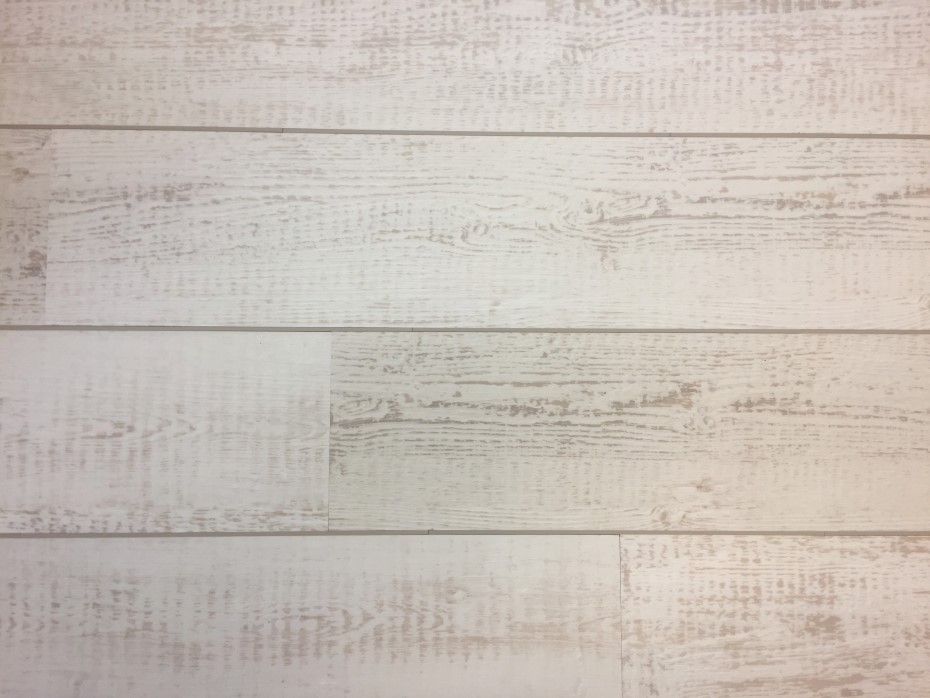
One way to use our design strips is to create a grouted porcelain wood look, which can be accomplished by framing both the length and width of the plank with design strips. This will give the effect that the plank has been laid in grout, as seen below with our White Painted Pine KP105 planks and Taupe AF07 design strips. To create this look, you will need 1.5 boxes of design strips per box of product.
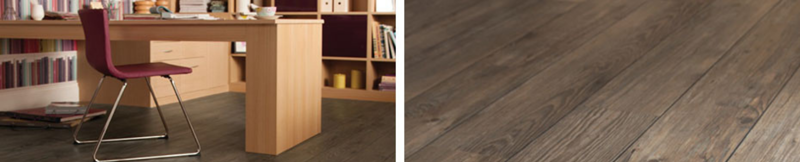
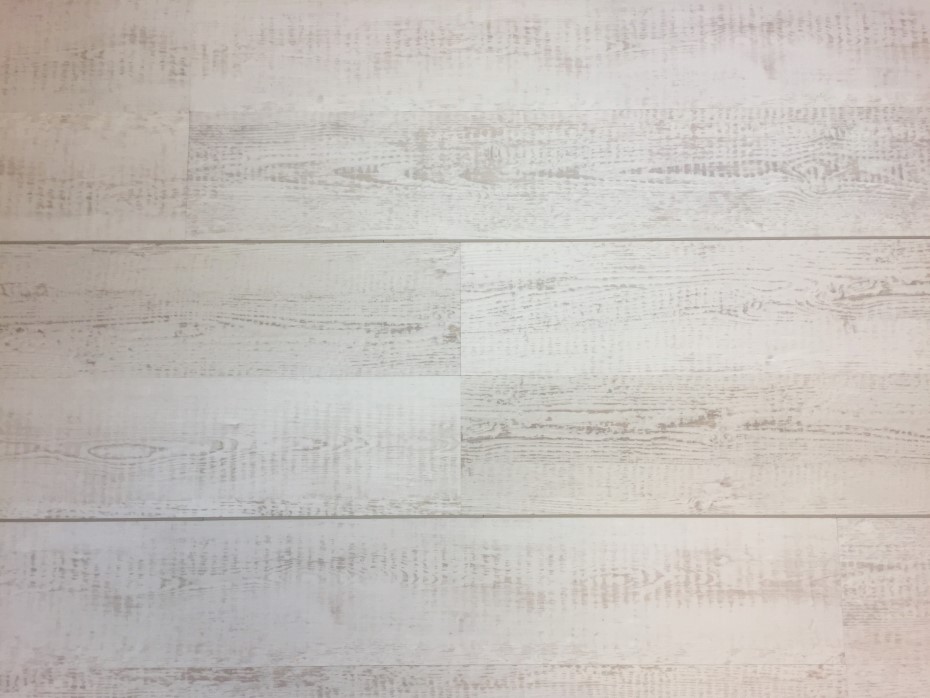
What was once intended to protect barns from the elements is now an aesthetic, rather than functional, trend. To create a “ship lap” layout, simply run design strips along the length of each plank, as shown below. You will need 1 box of design strips per box of product for this look.
You can even create the illusion of wide plank flooring by applying the same principles of ship lap, but instead of running the design strips between every plank, run the strips along the length of every second plank. The planks that lie in between design strips should be laid with the short edges aligned, rather than staggered. This effect works well in large, open areas, and can even make small rooms appear to have more depth. This look requires half the number of design strip boxes compared to the total number of product boxes needed.
Design strip tips for easy installation:
- Cut design strips appx. 1/32” longer than needed to ensure a good, tight fit and no gaps. Don’t stretch design strips to fit.
- Be sure to order the design strip that is the proper gauge for the field tiles or planks, depending on the thickness of the product.
- A quantity of strips for the end joints (width of the plank) can be cut ahead of time to expedite the install time.
The length of the plank or tile and the perimeter of the install area will determine how many boxes of design strips you need. Contact our customer service department at 888-266-4343 if you need assistance.These are only a few ways in which you can customize flooring projects using our selection of design strips! Use our Floorstyle tool to test out your ideas, and experiment with different products and design strips!